I’m the first to admit it: I love pampering myself. I love having girl’s nights and spa days. Spending the time to do nails and face masks is just so relaxing. Unfortunately, I don’t seem to find the time to do all that between work and school. But, something I can find time for is a long, hot bath.
When I take a bath, I love using bath bombs. They smell so good and are so much fun. However, they can get very expensive when you are paying $5 or more a piece. So, I tested out a bunch of recipes so I could find out the perfect homemade bath bomb for less than $1 a piece.
What You’ll Need:

1 Cup Citric Acid (Amazon, Walmart)
2 Cups Baking Soda
1 TBSP melted coconut oil
20-30 drops essential oil (optional)
Silicone Mold (Walmart)
Spray bottle of water (not pictured)
I found that this combination works perfectly! My mix made 8 bath bombs, but that will vary depending on the size of molds you use.
First, start by mixing all of your dry ingredients together.
Then, melt the coconut oil in a separate bowl and add any essential oils and/or food coloring. Side note: I do not add food coloring to mine because I don’t trust the bathtub in my apartment to not attract all the dye. Another option is to use mica pigments.

Now here is the hardest part. With one hand, continuously mix the dry ingredients. With the other hand, very slowly add the wet ingredients while continuing to mix. It is important to mix the ingredients continuously and add the liquid slowly because if you go too fast, the liquid will activate the citric acid and then your bath bombs will not fizz in the bath.
Once everything is mixed together, you may need to add the tiniest amount of water to help the bath bombs stay together. I judge if I need water by squeezing a bit of the mixture in my hand and then seeing if it holds the shape or not. If not, spray the mixture once while mixing continuously.

After your mixture is complete, you just need to put it in the mold. On the left, you will see the mixture is loose and on the right it is pressed. You will need to press the mixture as hard as you can so that it will be tightly packed and the bath bombs will maintain their shape once you take them out of the mold.
And that’s it! You just need to let them dry for at least a few hours. I kept mine under a lamp (because it happened to rain all weekend) for about 4 hours. You will want to make sure that you store them in a dry place as well.

The bath was so relaxing! The citric acid makes the bombs fizz, the baking soda acts as a detox, the essential oils are for aroma therapy and the coconut oil is soothing and hydrating. In mine, I used 10 drops of peppermint, 10 drops tea tree and 10 drops of eucalyptus essential oils.
Just as a note, these bath bombs don’t float as much as Lush or other store bought ones because I have omitted corn starch. I have read that is can help cause yeast infections, and that sure didn’t sound relaxing to me!

I plan on keeping a couple of these for myself and using the rest for gifts! What about you? Will you be giving these diy bath bombs a try? Let me know in the comments 🙂
Hope you have a happy Monday!
Xoxo Sammie
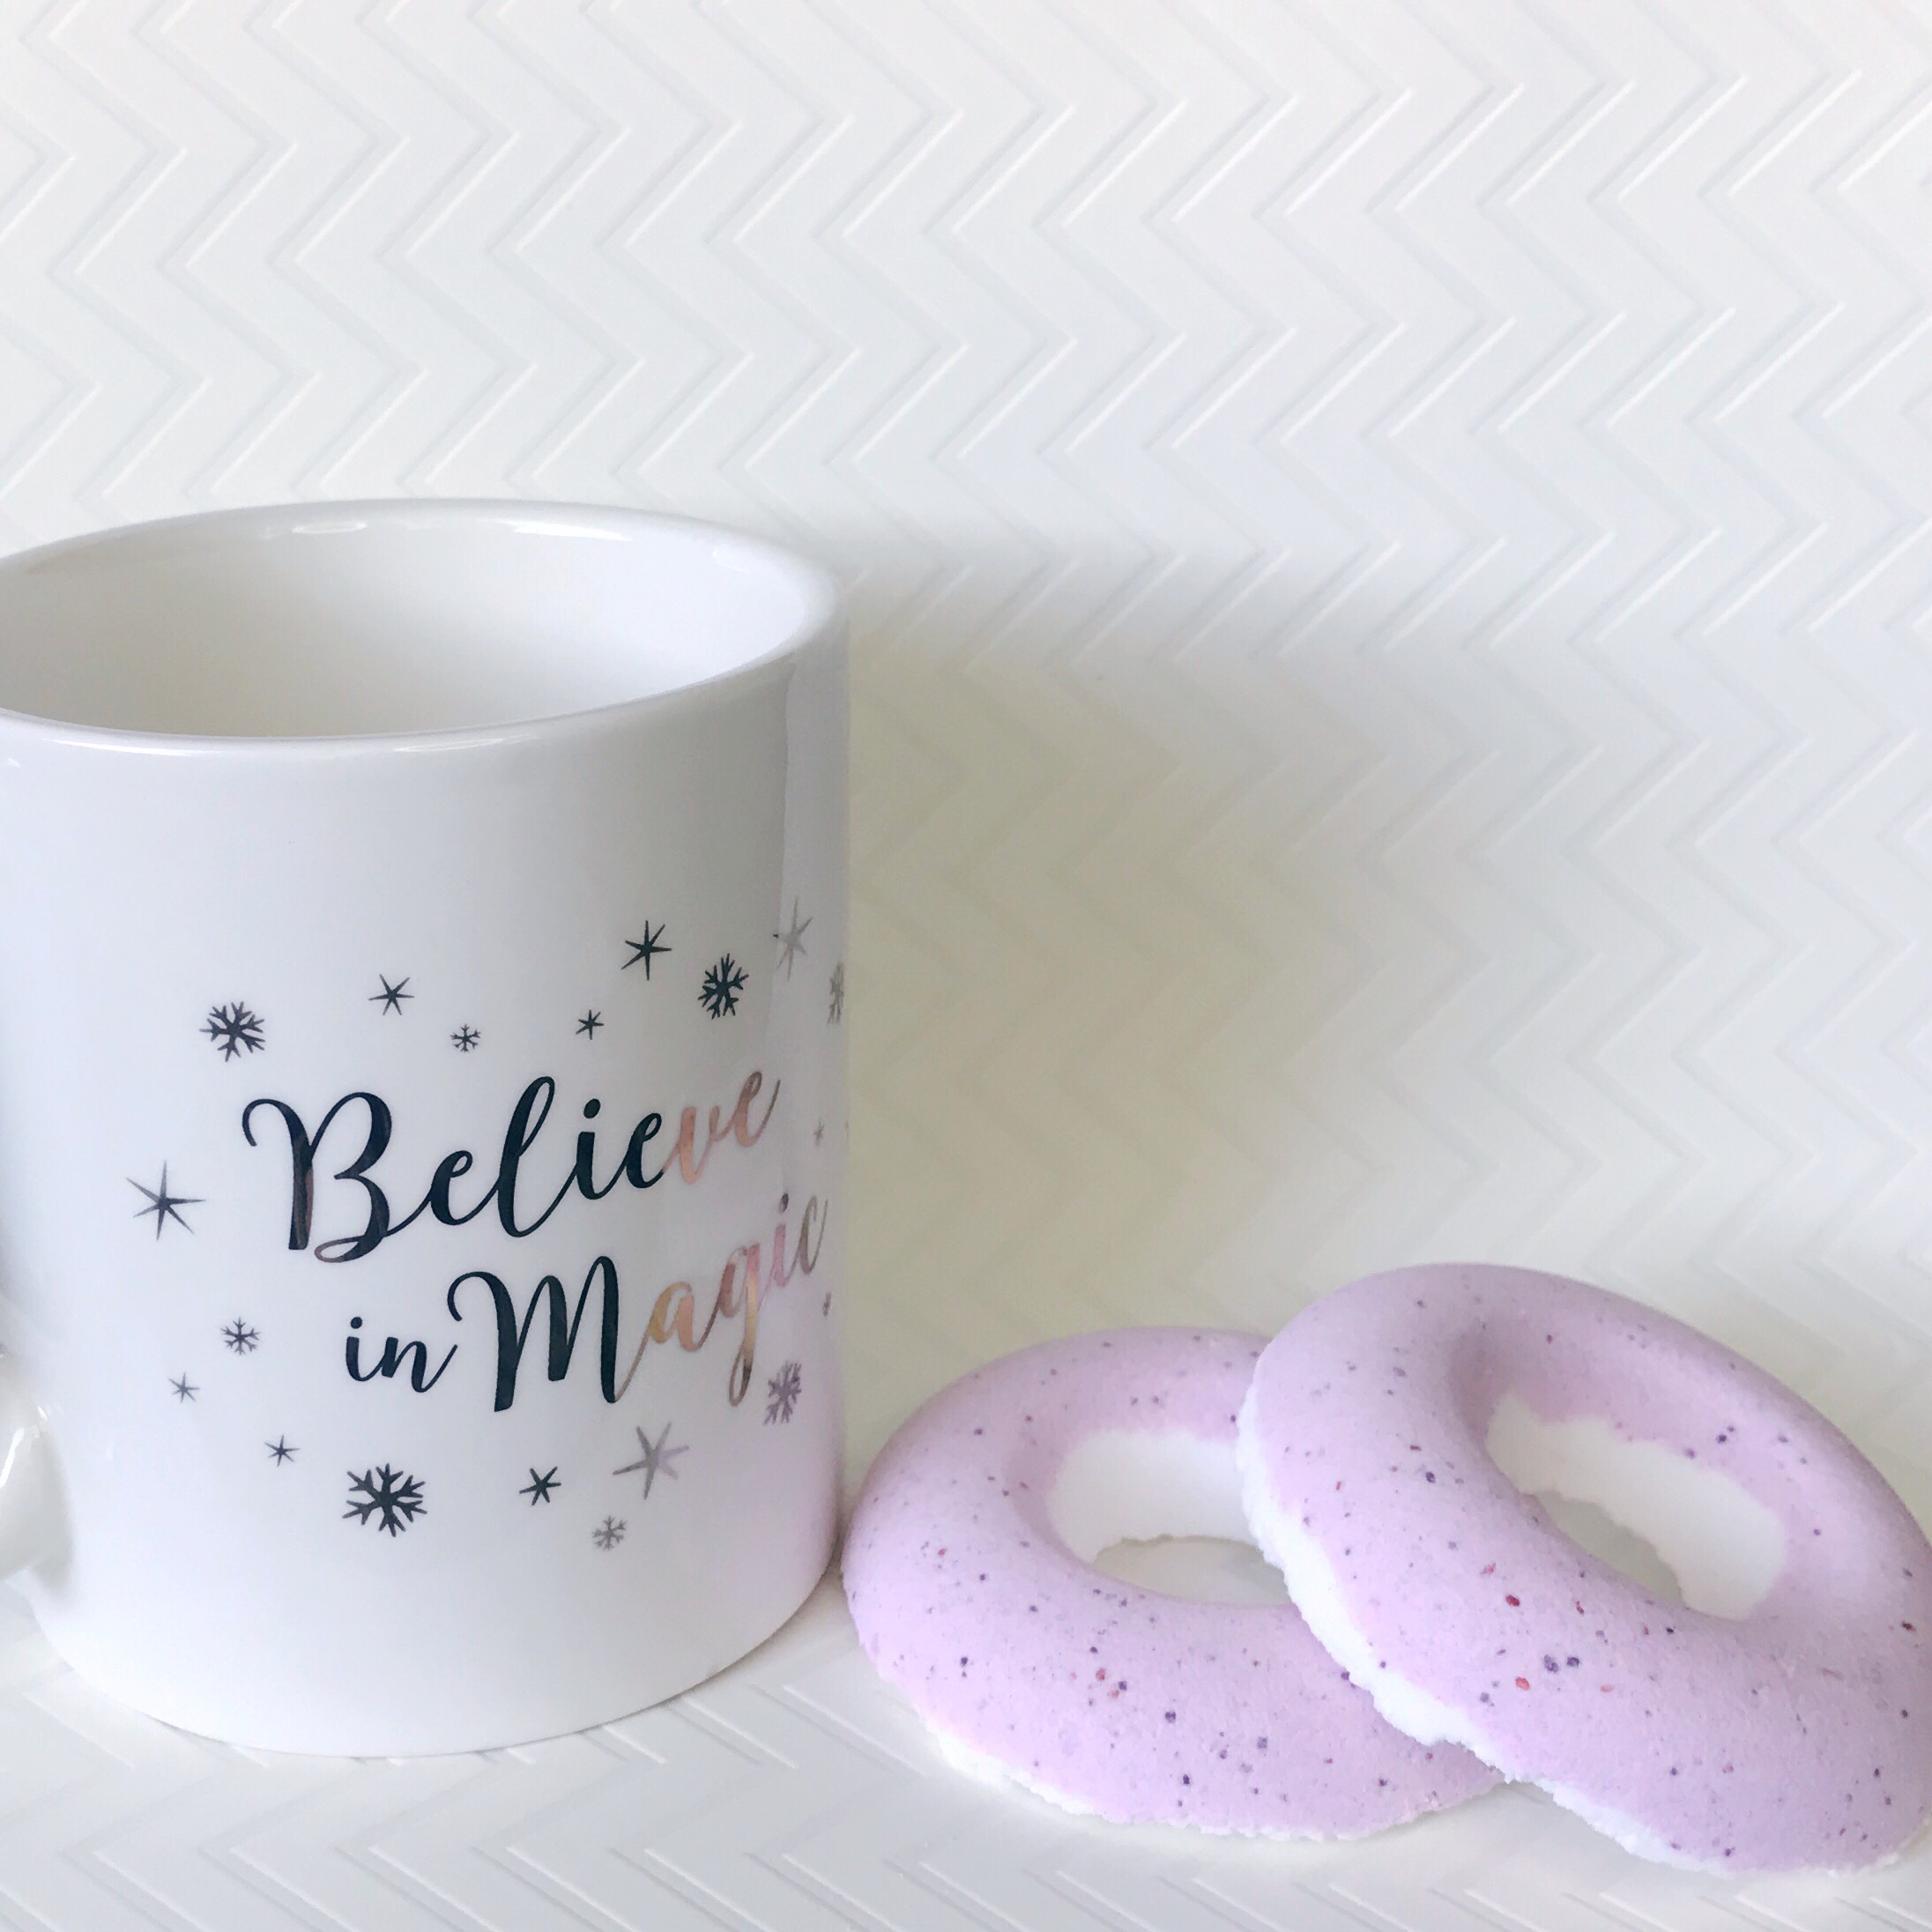
Side note: for something fun and different, try different molds, such as these fun doughnut bath bombs ????